
How to Upload General Ledger and Budget imports to Dynamics AX via Excel
- Step one: Register the LedgerGeneralJournalService from the AOT -> Services -> Add-Ins -> Register Service:

- Step two: Activate the Ledger Services Inbound Port from System administration -> Setup -> Services and application framework -> Inbound ports:
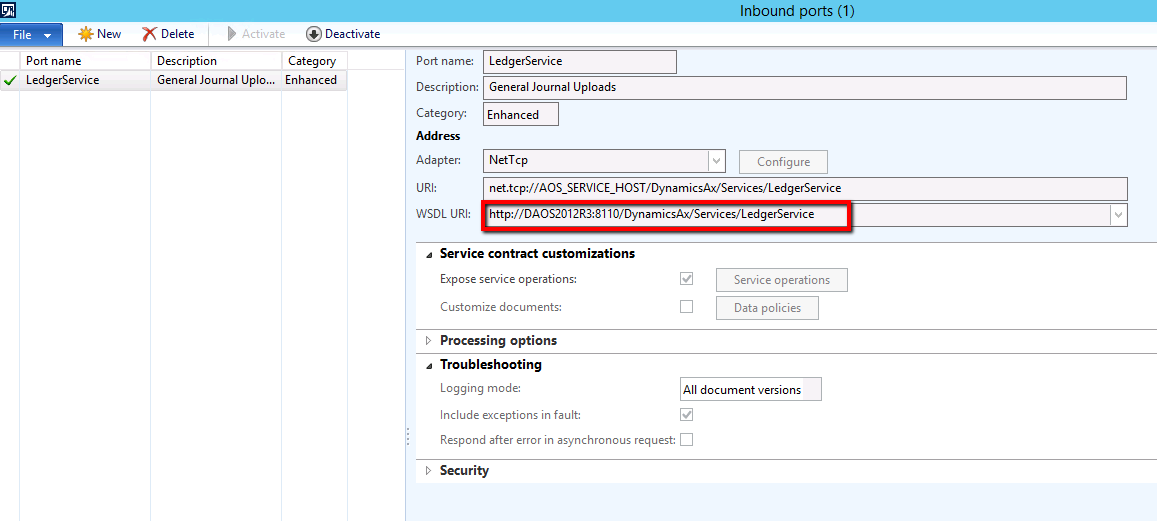
Press New to create a new Inbound Port record and name the Port LedgerService. Then name the Description ‘General Journal Upload’.
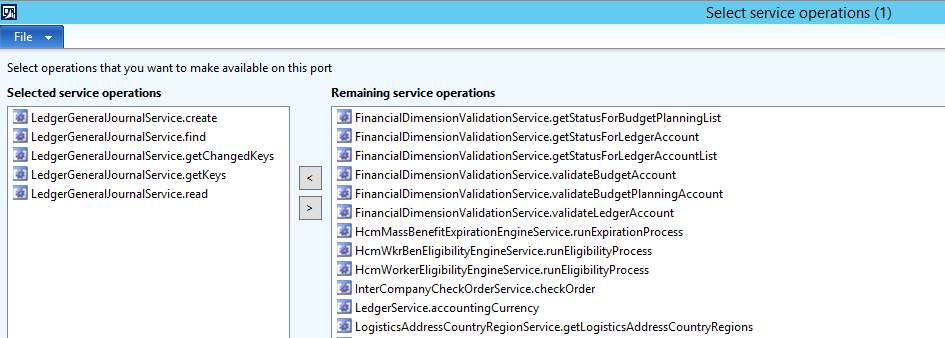
Open Service Operations and select the following Ledger Service Operations:
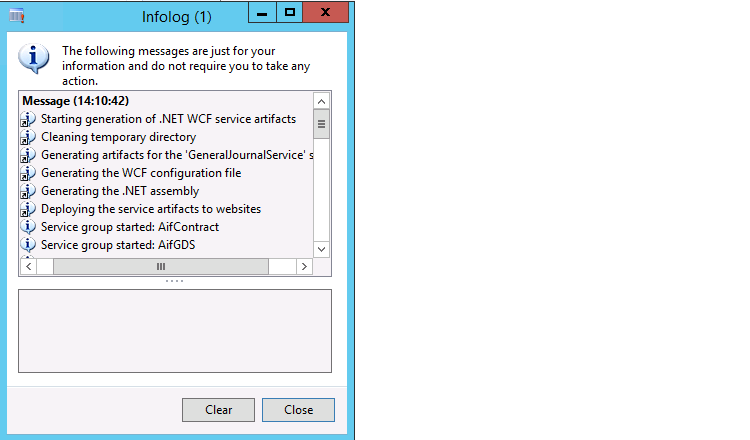
Select Activate to create the WSDL URL. After a couple of minutes, the Infolog should confirm that the Inbound Port was successfully activated:
Make a note of the Server and Port address, as these will be needed later:
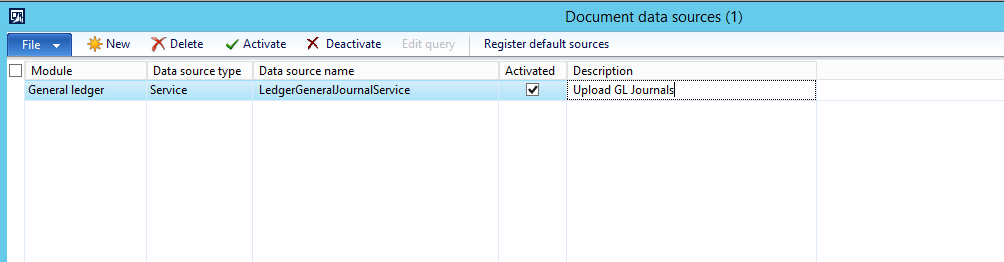
Lastly, activate the LedgerGeneralJournalService Data Source from Org Admin -> Setup -> Document Management -> Document Data Sources:
- Step three: Connect Excel to Dynamics AX and create the Journal template:
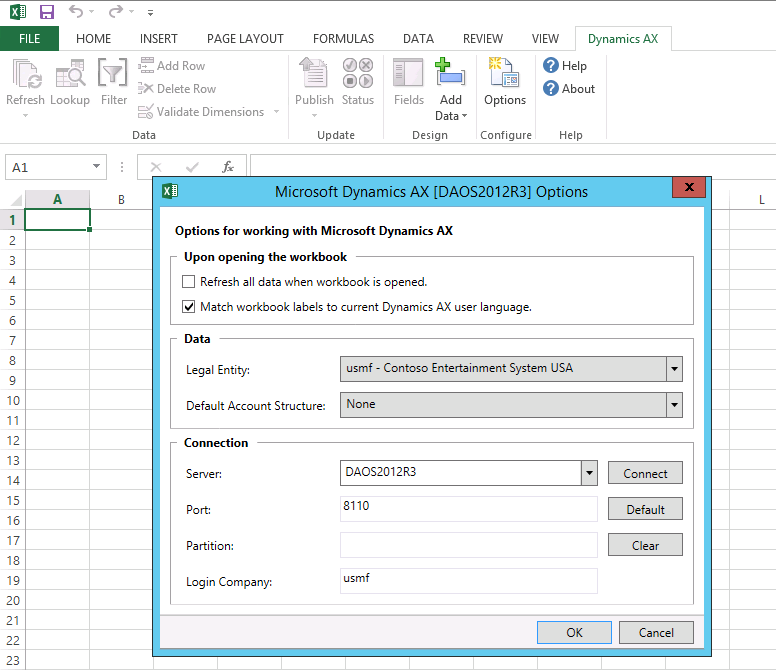
Open Excel and go to the Dynamics AX tab, then press Options. Enter the Server and Port address from the Inbound Ports setup and press Connect. You can then select the default Legal Entity and Account Structure:
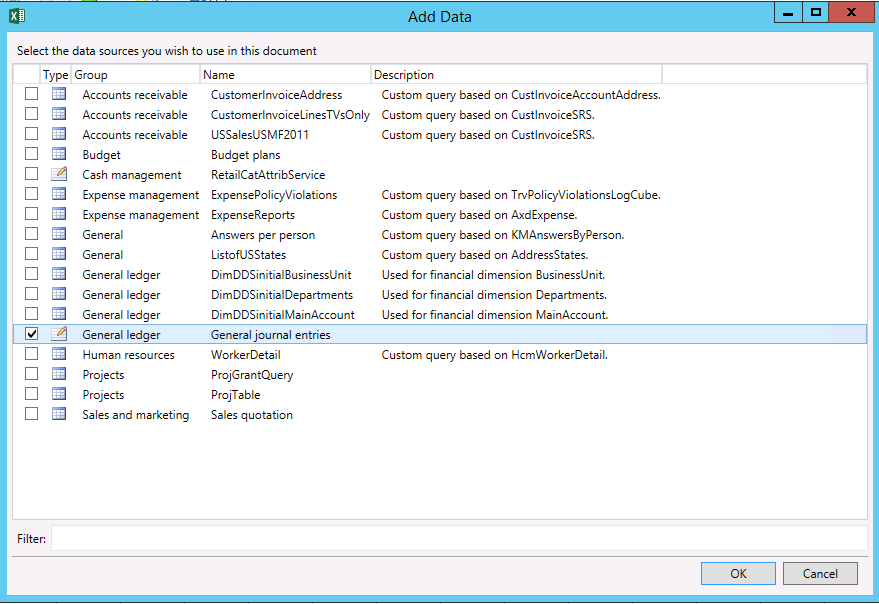
Next, select Add Data -> Add Data. Select the General journal entries Data Source:
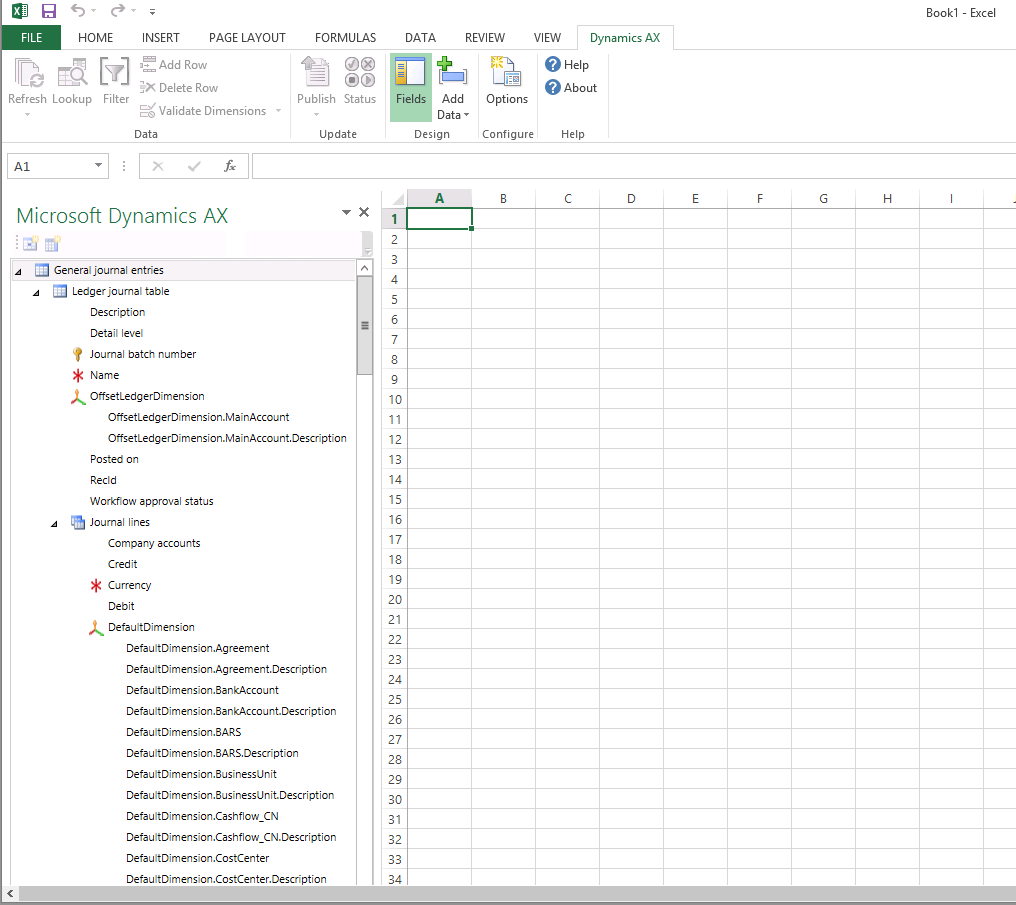
A new pane will now open in Excel which allows you to select which Journal fields we wish to import.
The Excel template will be split into two sheets, Ledger Journal Table for the Header and Journal Lines for the Lines:
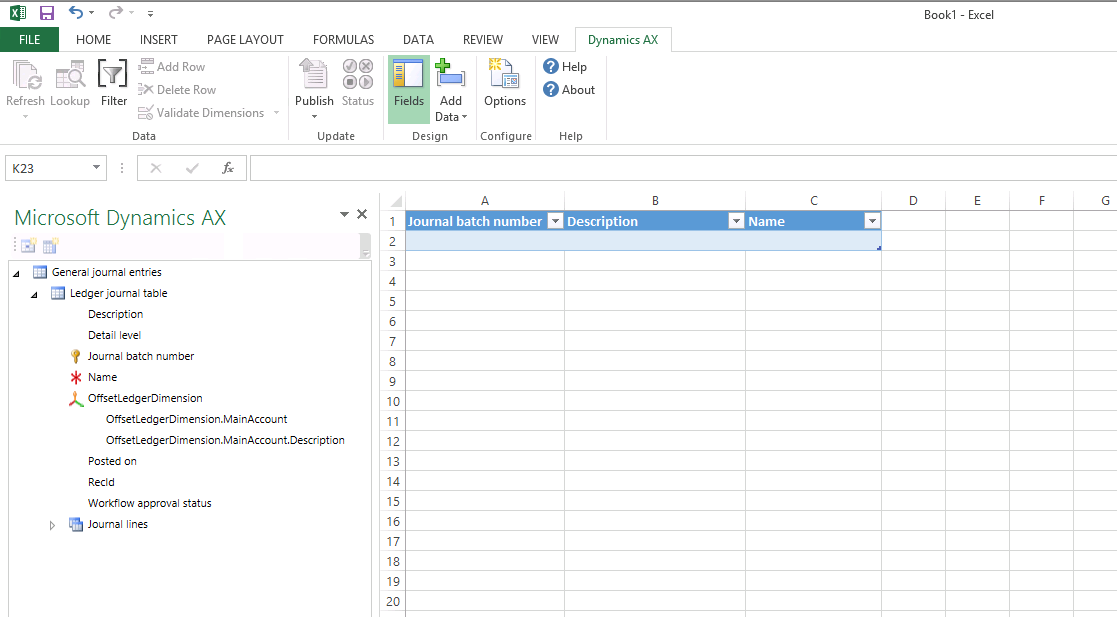
In Sheet 1 (Header), add the following fields:
- Journal batch number
- Description
- Name
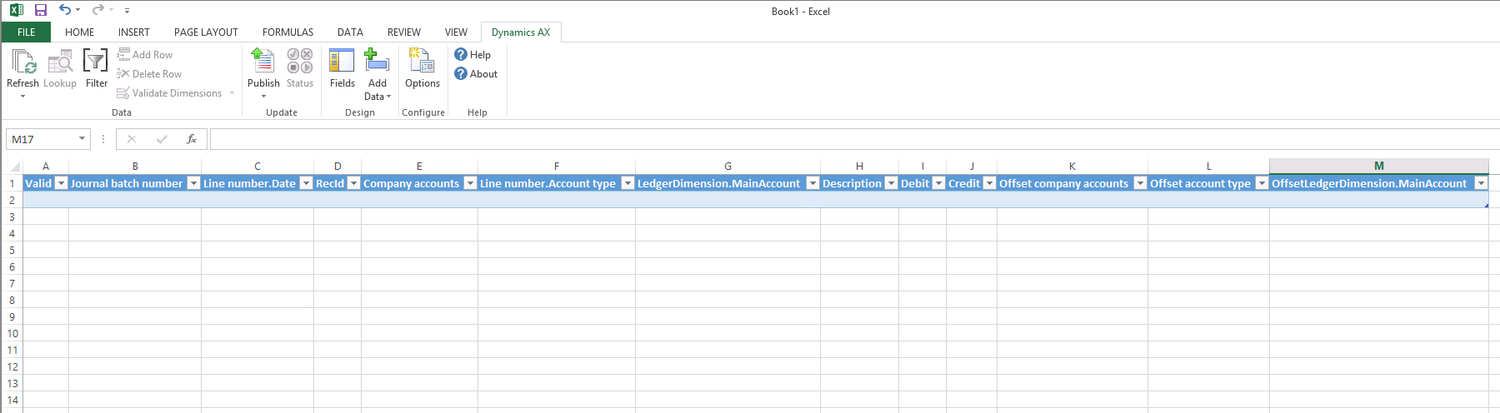
In Sheet 2 (Lines), add the following fields:
- Parent.Journal batch number
- Line number.Date (Note: This will also add the RecId field)
- Company Accounts
- Line number.Account type
- Currency
- LedgerDimension.MainAccount
- Description
- Debit
- Credit
- Offset company accounts
- Offset account type
- OffsetLedgerDimension.MainAccount
(Note: Add the additional Dimension/Offset Dimension values as necessary)
Next, rename the Sheets as Header and Lines. Then save the template.
- Step Four: Populate the Excel Sheet and Publish the Journal
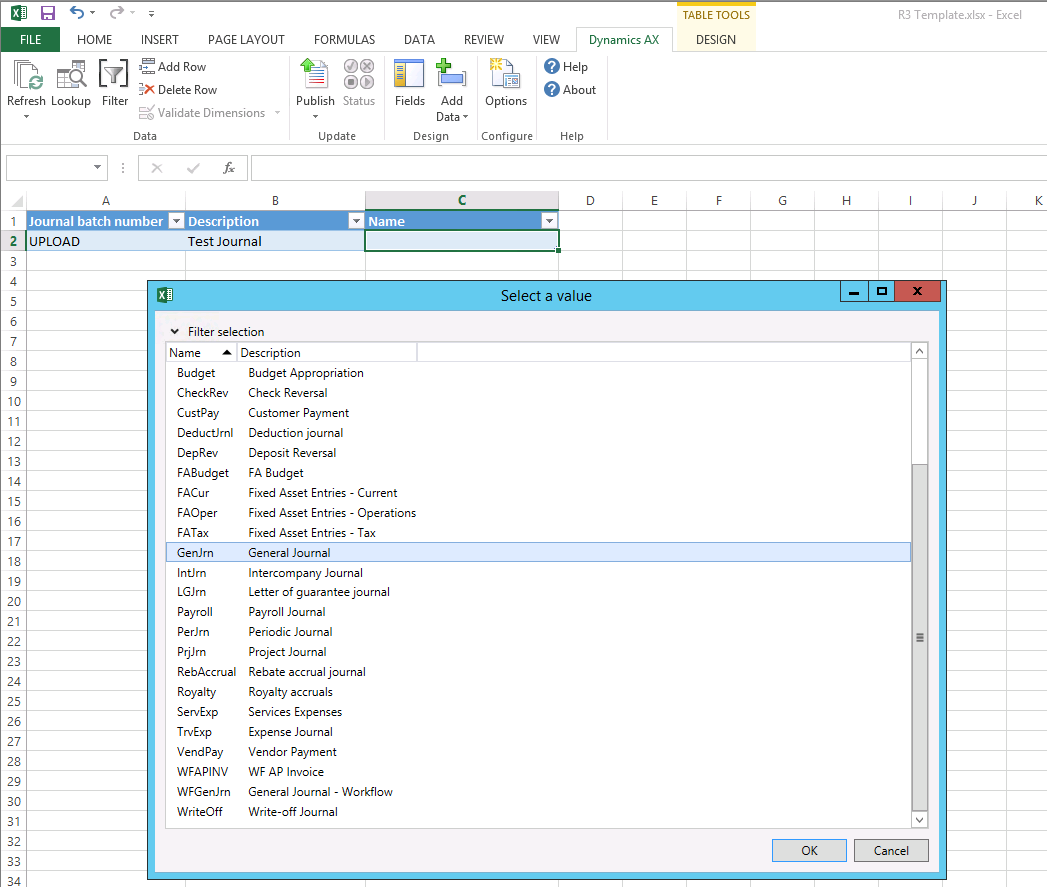
Header:
In my example, I have used UPLOAD as my Journal Batch Number on the Header and Lines (this will auto generate to the AX number sequence when the journal is published).
For the Journal name, use the Excel Lookup button to select the correct Value:
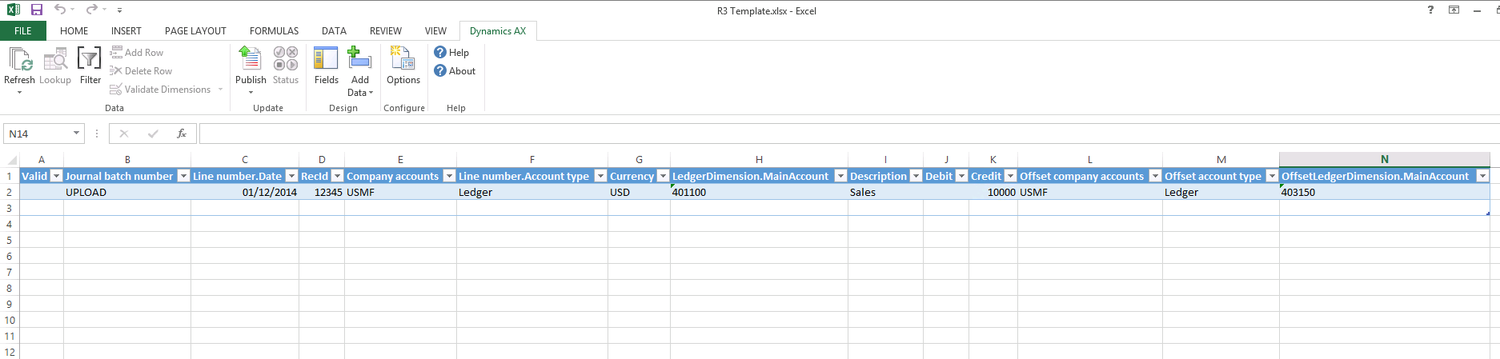
Lines:
Again, we have used UPLOAD as the Journal batch number (this needs to match the reference on the Journal Header).
You will also need to add a RecId on the journal lines (any number will do, this will then generate a valid number when the journal is uploaded).
The rest of the fields are self explanatory. Also, the Excel Lookup function can be used to select Values from AX:
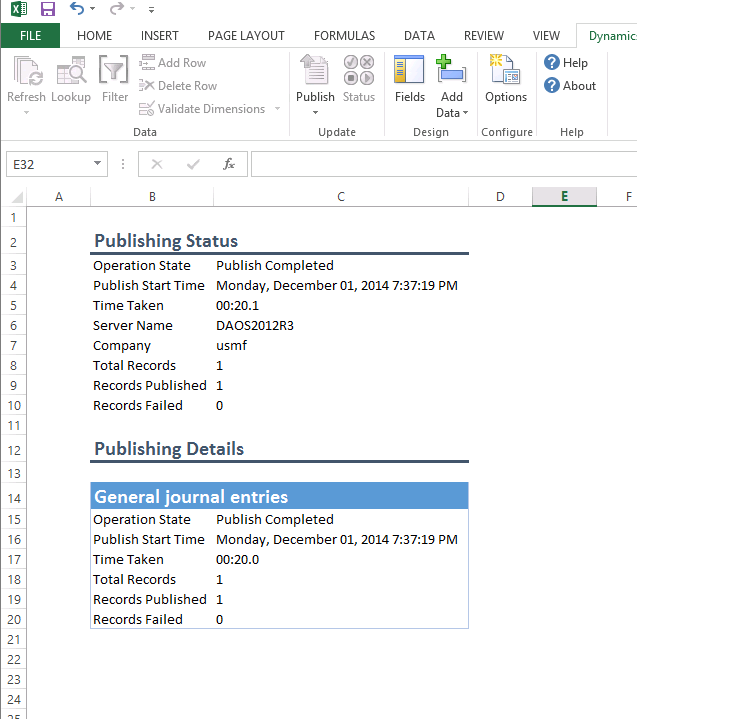
Once all the Journal Lines have been entered, move the cursor to a Cell outside of the Excel table and select Publish All. You will need to say Yes to the next message:

The Journal will now be Published to AX and a confirmation will appear:
- Step Five: Validate the Journal in AX and post the Journal
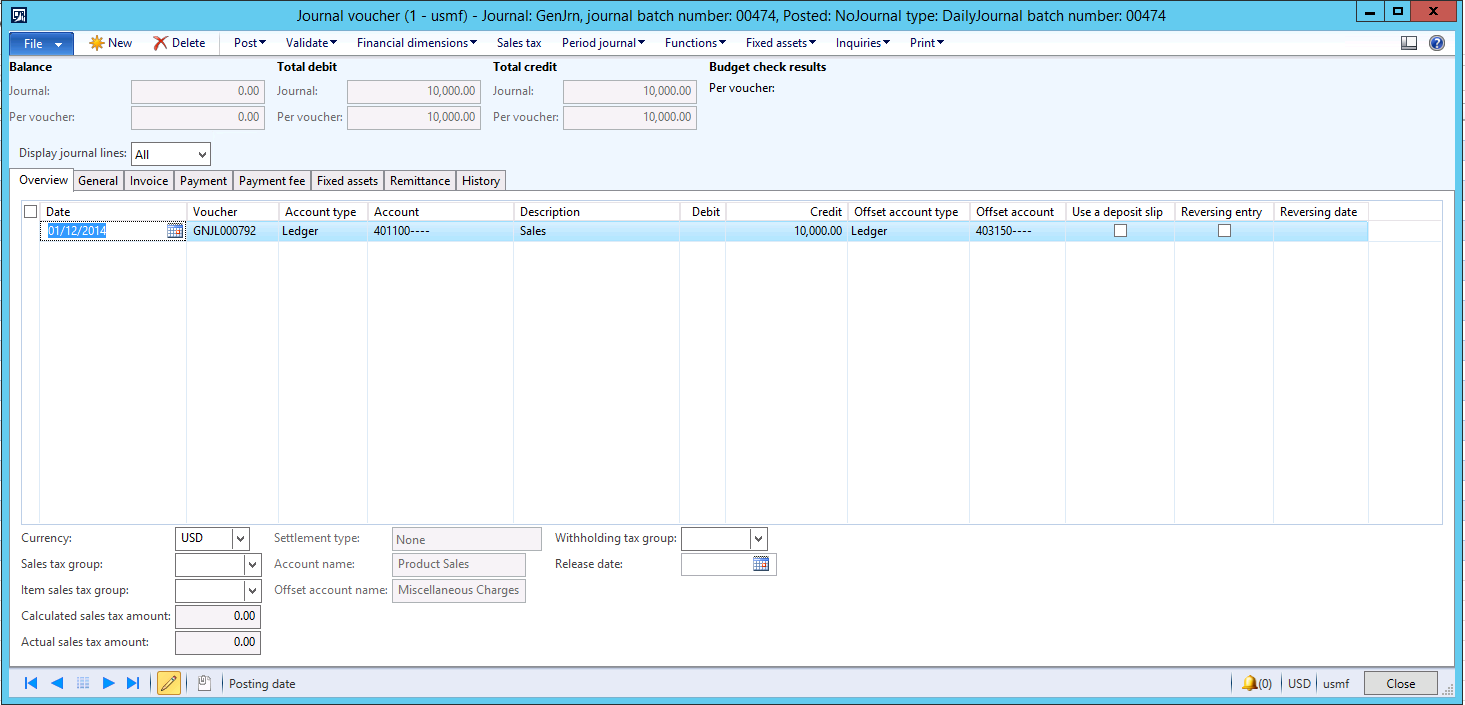
Lastly, we can check that the Journal has been correctly imported into AX:
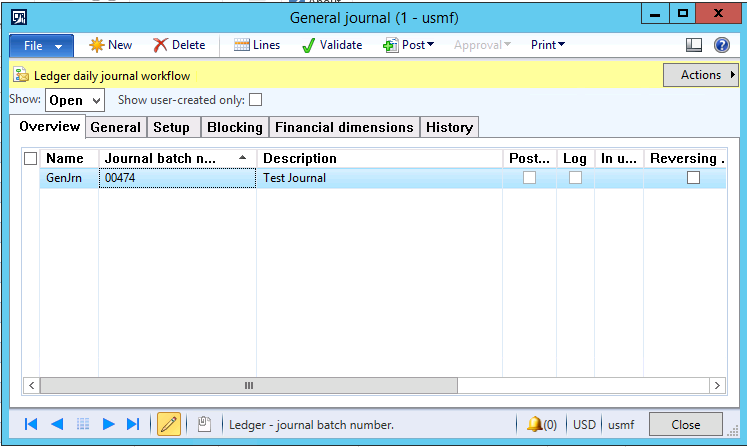
The Lines do match the import file and this Journal can now be posted:
Please contact us at info@sialtp.com for additional information.